
Air Jordan Care and Cleaning Tips to Keep Your Kicks Fresh
You just paid $200 or more on a pair of Air Jordans — so the very last thing you want is for them to look worn out after just weeks of wear. Regular cleaning and care is what distinguishes the guy whose Air Jordans still look immaculate after six months from the guy whose shoes look like they endured an apocalypse. The bright side is that caring for your Air Jordans doesn’t demand costly supplies or professional services; it just takes diligence and the proper method for each type of material. In this tutorial, we’ll explain specifically how to clean each type of Air Jordan — leather, suede, nubuck, mesh, patent leather — and how to keep them so they stay in top condition for years. This advice are based on years of hands-on testing, chats with professional sneaker cleaners, and the shared knowledge of the sneaker community globally. Apply these tips, and your kicks will seem just unboxed long after the purchase date.
Essential Cleaning Supplies
Before you start on your Jordans with any tool, let’s cover the items that truly deliver results. A quality sneaker cleaner like Jason Markk or Reshoevn8r is worth the $15 to $18 spend because these solutions remove stains without ruining fabrics or dissolving bonding agents. You’ll want at least two cleaning brushes: a soft-bristle brush for delicate materials and uppers, and a medium-bristle brush for soles where heavier cleaning is necessary. Microfiber towels are indispensable — standard cotton towels deposit lint and can damage some materials, while microfiber absorbs dampness efficiently. A small dish of mildly warm water (definitely not hot, which can deform bonding material and shrink leather) is your cleaning base. For stubborn midsole blemishes, a melamine foam block works wonders on scuffs and yellowing without harsh chemicals. Store a small fine brush for getting into jordan shoes seam lines, eyelets, and cramped spots around the tongue.
Cleaning Smooth Leather Air Jordans Step by Step
Full-grain leather is the most popular surface across the Air Jordan lineup, found on silhouettes like the Jordan 1, Jordan 4, and Jordan 12, and thankfully it’s also the most cooperative material to care for. Start by removing the shoelaces entirely — throw them into a small mesh bag and run them through a delicate washing machine cycle, or wash by hand them with a bit of mild soap and lukewarm water. Moisten your soft brush into the sneaker solution mixed with warm water and scrub the leather in gentle, circular motions, concentrating on one area at a time to maintain balanced treatment. Stay away from soaking the leather — you need the brush moist, not drenched, because excess water can lead to water stains and potentially harm the internal padding underneath. Wipe each section with a unused, moistened microfiber cloth straight after cleaning to wipe away the loosened grime and residual cleaner. Once the entire shoe is cleaned, pack it lightly with acid-free tissue or a wooden shoe tree to retain structure while drying naturally at room temperature, away from sun exposure or radiators that can damage and yellow leather. For an extra layer of coverage after cleaning, coat with a thin coat of leather treatment or Jason Markk Repel spray to build a water-repellent barrier that repels moisture and stains between treatments.
Handling Suede, Nubuck, and Specialty Materials
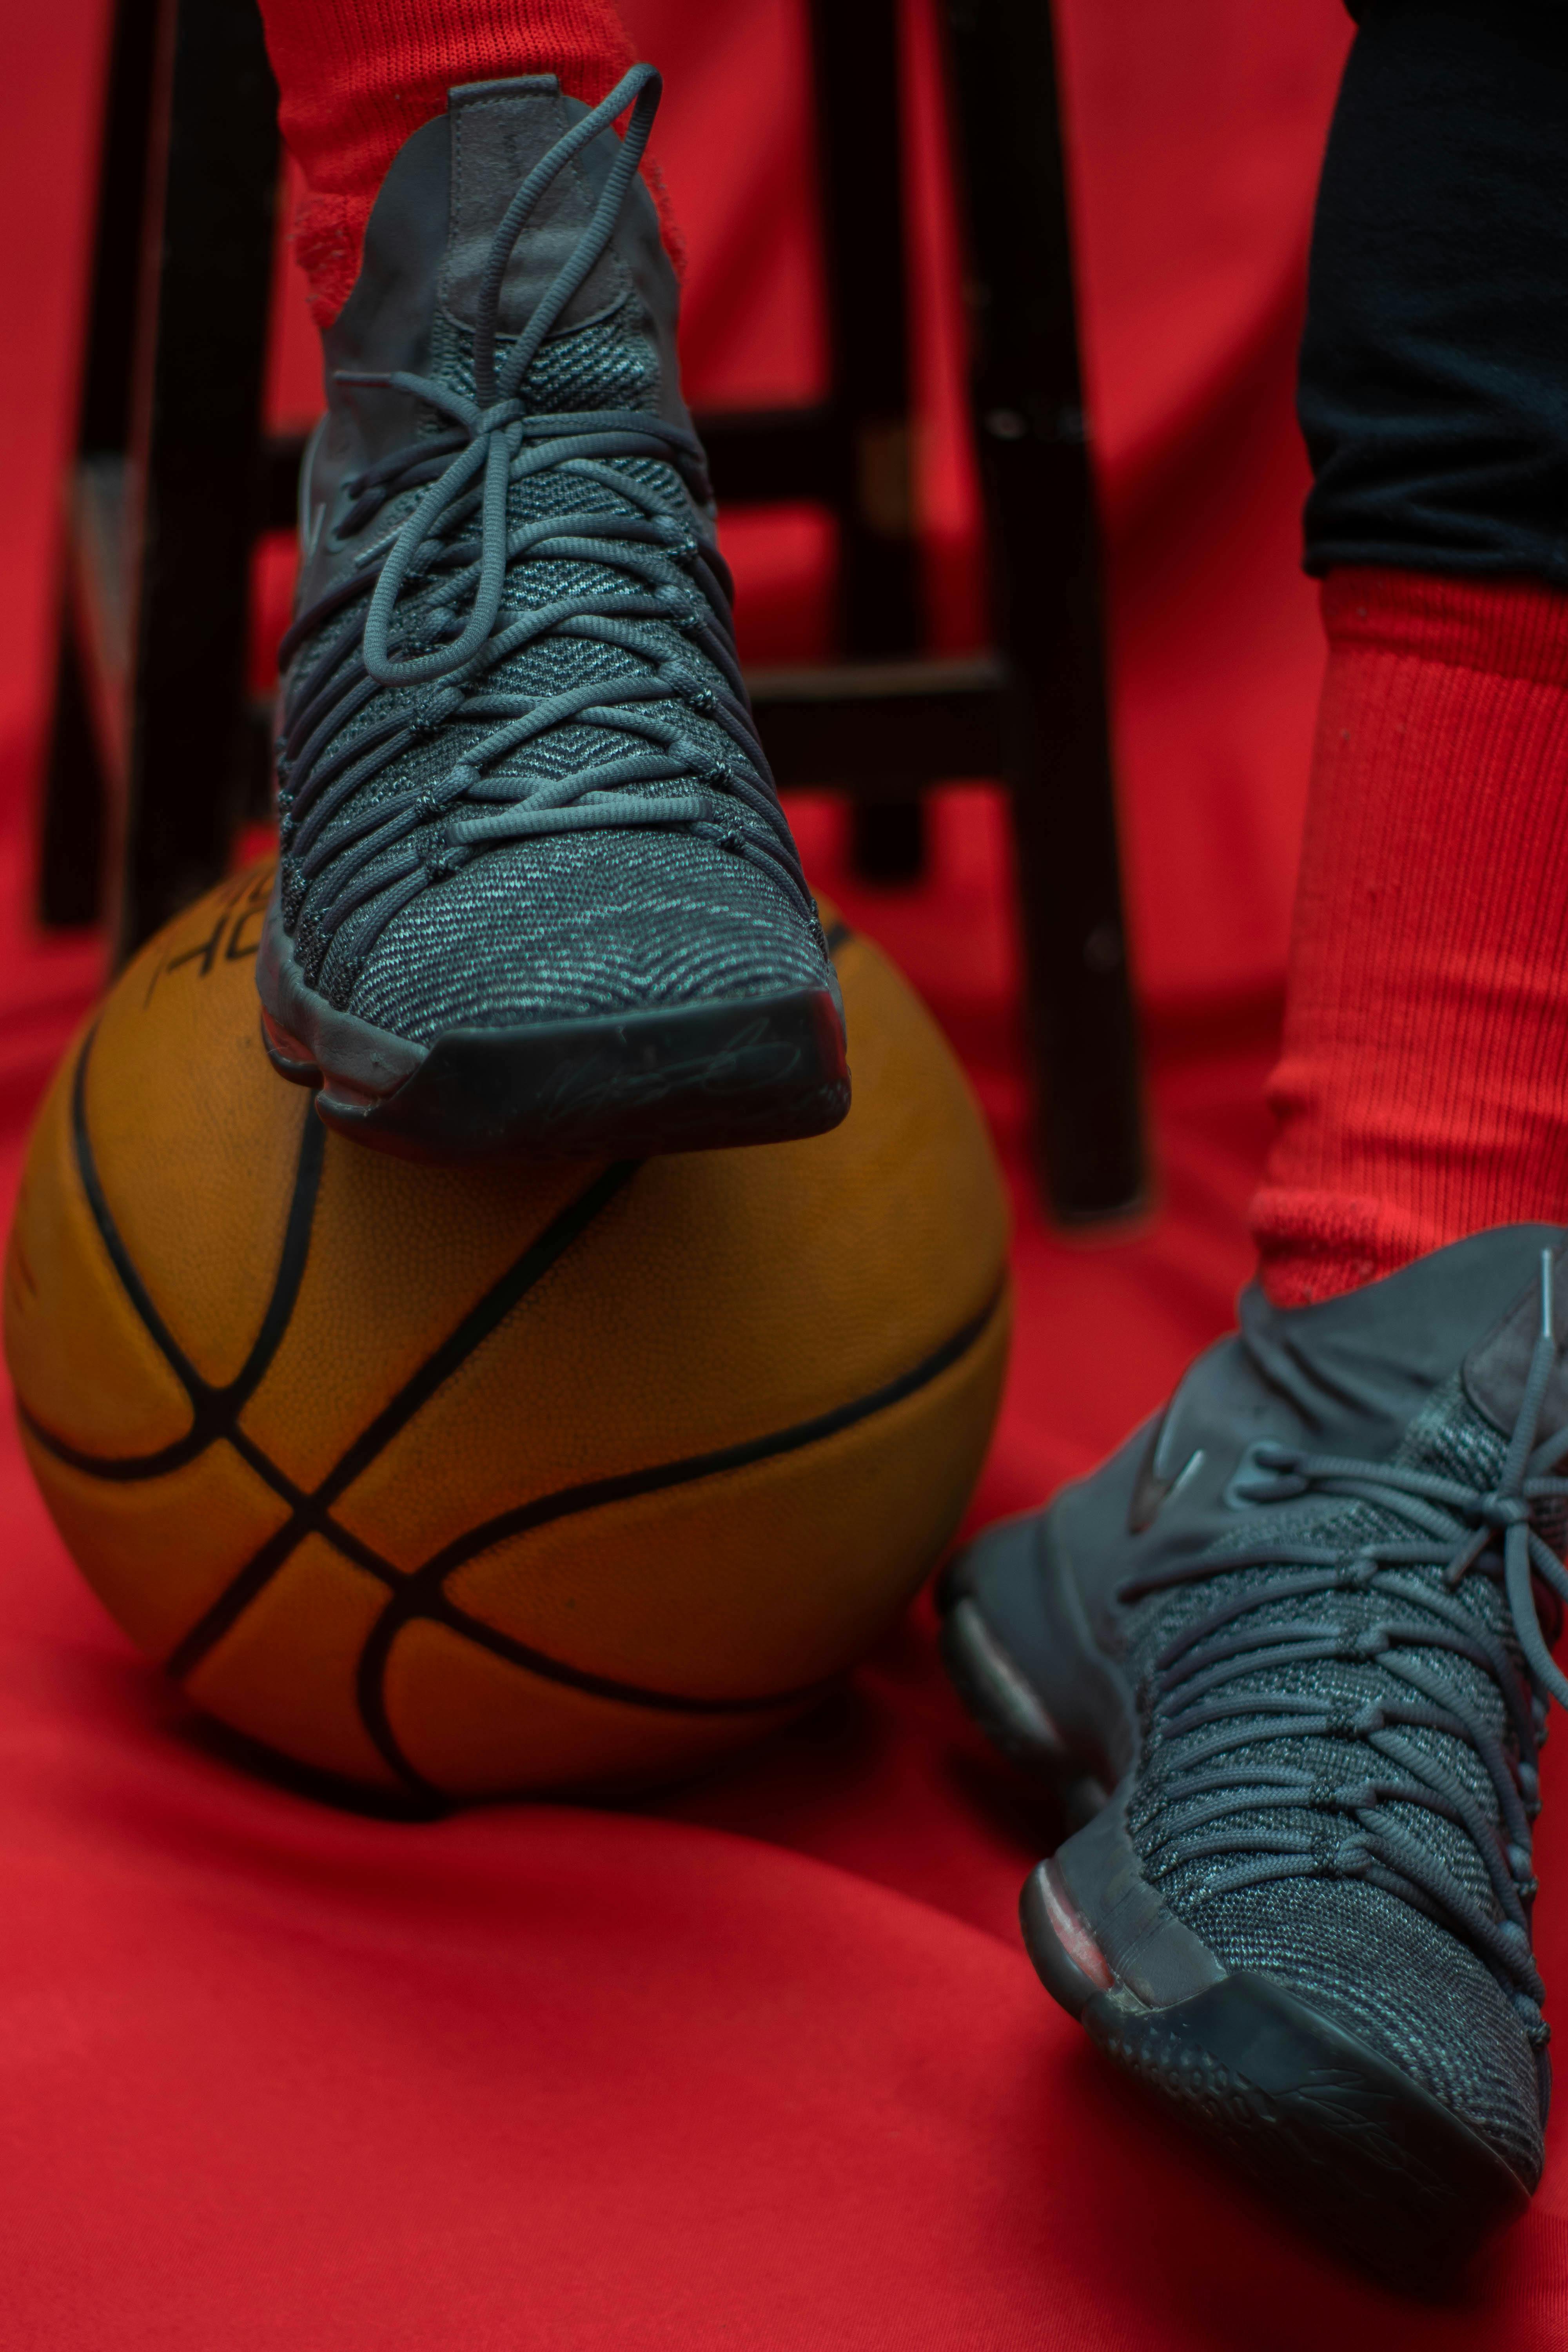
Suede and nubuck demand a totally distinct approach than full-grain leather because moisture is their greatest threat — putting wet cleaning solution directly to untreated suede can produce lasting water marks and damage the fine nap. Your first step should always be by employing a dry suede brush to lift surface debris and realign the nap direction before adding any cleaning product at all. When you need to clean them, use a specific suede cleaner dabbed lightly to the bristles as opposed to straight to the material, stroking in gentle linear strokes that respect the nap direction of the suede. For persistent blemishes on nubuck (typical for silhouettes like the Air Jordan 5 and particular Jordan 4 releases), a suede eraser block can extract marks without applying any liquid to the surface. Shiny patent, showcased on the classic Air Jordan 11, needs its own method: wipe with a gentle moist cloth and gentle soap, then shine to a shine with a separate dry microfiber towel, avoiding any coarse scrubbers that will damage the shiny finish permanently. Mesh and knit uppers, more and more popular in contemporary Jordan releases and the Jordan Max Aura series, can be maintained with a thinned solution and gentle brush, but should under no circumstances be dunked or tossed in the washer as this can warp the engineered framework. Every time try any cleaning method on a small, inconspicuous spot first — the inner tongue or the heel panel — before applying to the full shoe.
Reviving Midsoles and Outsoles
Discolored midsoles are the nemesis of every Jordan collector’s life, and while fully preventing it is out of the question, solid strategies can delay and correct the discoloration. For slight yellowing, a paste of baking soda and hydrogen peroxide spread to the midsole and stimulated under UV light for 3 to 4 hours delivers noticeably lighter improvements. Aggressive yellowing on translucent outsoles — frequently seen on the Air Jordan 11, 5, and 6 — is best treated with Salon Care 40 Volume Clear developer, layered and sealed in plastic wrap under full sun for one to two rounds. Without exception clean the outsole completely before restoring, grabbing a stiffer brush to clear lodged dirt from grip channels. For scuff marks on painted midsoles, a melamine eraser dampened with water eliminates marks without altering paint when applied lightly. Crep Protect’s Cure line provides midsole cleaning pens convenient for fast maintenance. Remember that oxidation is natural — you can control it, but preventing it entirely would mean keeping them on ice forever.
| Material Type | Cleaning Method | Best Products | What to Avoid |
|---|---|---|---|
| Smooth Leather | Damp soft brush + circular motions | Sneaker cleaner, leather treatment | Too much water, heat sources, abrasive chemicals |
| Suede / Nubuck | Brush dry first, then light moisture | Suede cleaner, suede eraser block | Water directly on surface, machine wash, hard brushes |
| Patent Leather | Damp gentle cloth and soft polishing | Mild soap, microfiber cloth | Stiff brushes, chemical solvents, coarse towels |
| Mesh / Knit | Gentle brush using watered-down cleaner | Sneaker cleaner, soft brush | Submersion, machine wash, wringing |
| Midsole (white) | Medium brush + whitening treatment | Baking soda mix, magic eraser | Bleach, acetone-based products, aggressive scouring |
| Outsole (icy/clear) | UV-triggered sole brightening | Salon Care 40 developer, Sole Bright | Prolonged sun exposure, heat from ovens |
Best Storage Tips for Lasting Freshness
Your storage method for your Air Jordans matters just as much as how you maintain them, especially if you’re growing a collection or storing pairs unworn for later wear. OG boxes suffice for brief storage, but for dedicated conservation, clear stackable shoe boxes provide enhanced defense while leaving your sneakers organized and visible. Be sure to put in wooden shoe trees or clean tissue paper to keep shape and wick away remaining dampness — never store shoes while they’re still damp. Silica gel sachets dropped inside each sneaker and box combat the humidity that hastens discoloration, glue degradation, and mold. Store your pairs in a environmentally controlled space — ideally between 60°F and 75°F with relative humidity below 50% — avoiding the garage, the attic, and basements where conditions are unreliable. Position sneakers away from UV rays because UV rays produce irreversible fading and accelerate oxidation of icy outsoles within a matter of weeks. For prolonged preservation, examine sneakers every two to three months to work the midsole and look for delamination.
Quick Maintenance Routine After Every Wear
The most impactful habit for keeping your Air Jordans in pristine condition is a quick two-minute cleaning routine done right after each time you take them off. Take a moisture-free gentle brush to sweep away any surface dirt and particles from the upper, directing special focus to the toe box and heel cup where dust accumulates most quickly during wear. Wipe the midsole with a lightly moistened microfiber cloth to remove any scuffs or buildup before they have time to bond and grow tougher to eliminate. Inspect the outsole and remove any stones, glass fragments, or debris embedded in the sole grooves — little rocks can over time wear through the rubber if left in place over continued use. If you encountered water or puddles, fill the sneakers with newspaper or absorbent towels to draw out internal moisture, then let them air dry for at least 12 hours before putting them back on. Unlace the sneakers a bit to ease pressure on the lace eyelets and collar, which allows them to keep their structural shape over many wears. This straightforward practice, performed faithfully, lowers the frequency of intensive cleanings from every week to once a month and preserves your Jordans looking like they just came off the Nike SNKRS shelf every occasion you lace them up.